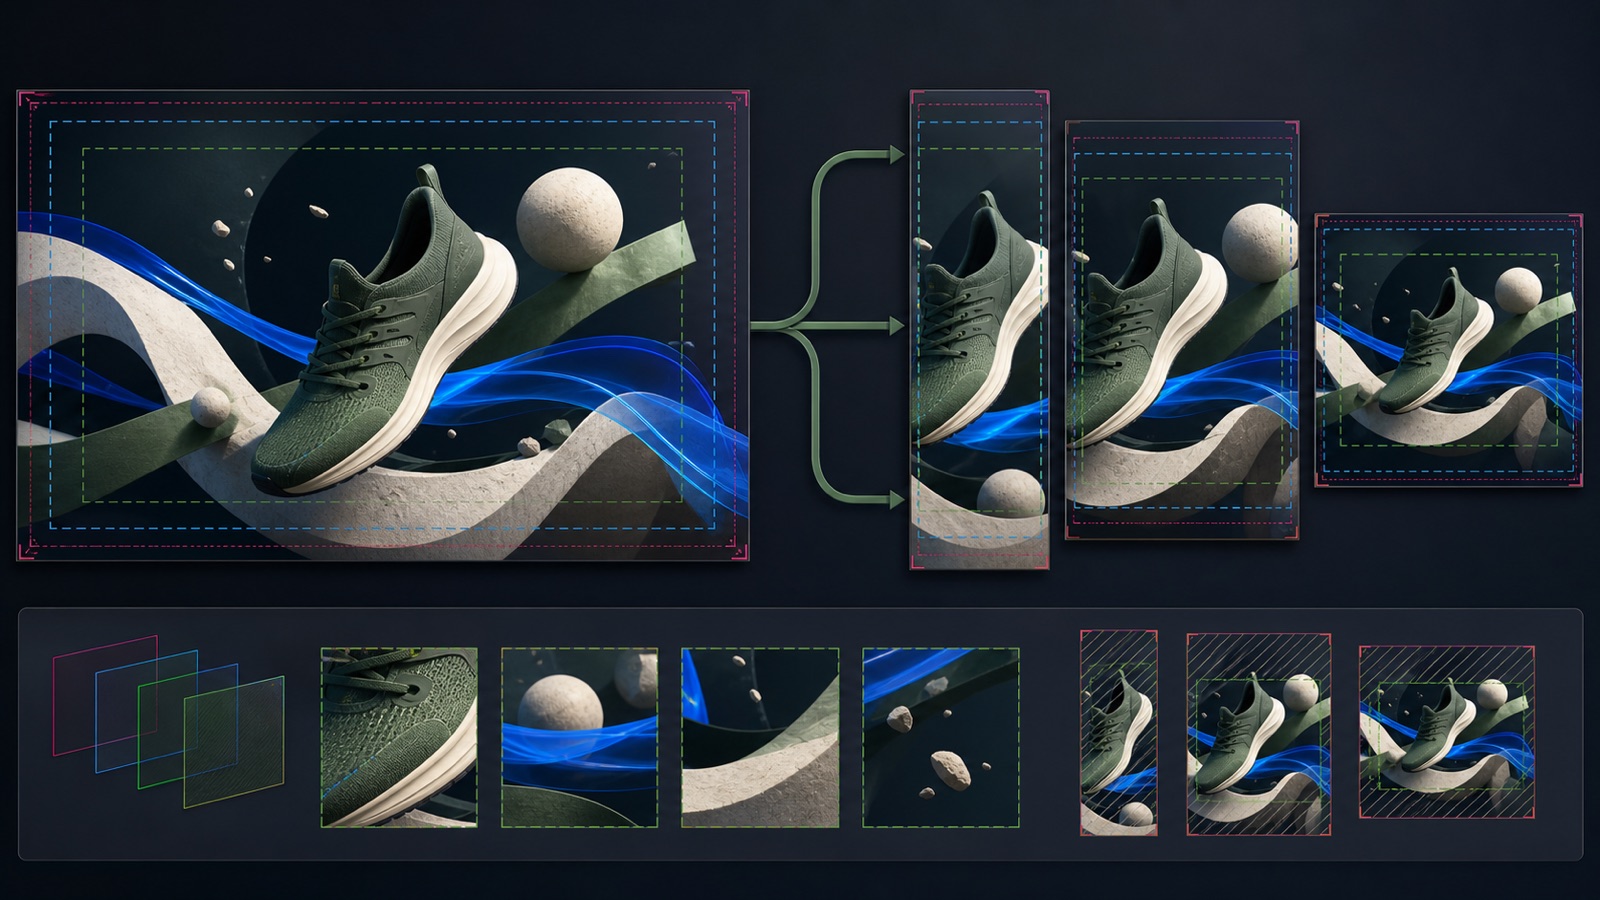
One source asset can be adapted across Feed, Stories, Reels, and other placements. Differences in aspect ratio, overlays, account features, and creative enhancements can make a live rendering differ from a single preview. This lesson treats placement quality as a preflight and post-publication process rather than assuming one screenshot represents every delivery.
VISUAL LESSON
What you will learn
- 01Map assets to Instagram placement shapes.
- 02Protect critical content with safe zones.
- 03Run a preview-to-live verification loop.
ILLUSTRATIVE WORKED EXAMPLE
Score an illustrative placement preflight
PRACTICAL INTERFACE MAP
Move from master asset to verified live placement
Prepare supported aspect ratios and keep the focal point, offer, and essential context inside safe areas.
Check framing, overlays, text, CTA, destination, audio, captions, and enhancement settings.
Open a supported live sample or placement evidence and compare it with the approved record.
STEP-BY-STEP LESSON
Master asset → placement variants → preview → live check
THE LEAD ATLAS METHOD
Lead Atlas Data can create a custom business-contact list for the same campaign locations, market, or categories, letting outreach continue without depending on one Instagram rendering path.See how custom list research works ↗Inventory placements and source assets
List the Instagram placements actually selected, then record every source image or video, aspect ratio, resolution, duration, audio state, caption file, primary text, headline, CTA, and destination. Do not design for a placement that is not in the campaign.
Create an asset matrix with one row per placement and columns for source, adapted version, approval owner, preview status, and live-check status. Confirm current specifications in the creation flow or official guidance.
Design a resilient composition
Place the product, subject, key action, and essential context away from edges and expected interface overlays. Keep important meaning in the visual itself or accessible copy, not in tiny generated text. Prepare vertical, square, or horizontal alternatives when a single crop would damage the message.
Use crop guides to mark the focal area and compare each variant at a realistic mobile size. Verify contrast, captions, audio dependence, legibility, and whether the first frame explains enough before a viewer scrolls.
Inspect placement previews separately
Open the preview for every selected placement and check crop, overlay collisions, thumbnail, primary text, headline, profile identity, CTA label, destination, and any automated creative treatment. Preview availability and exact controls can vary by account and campaign.
Save a dated preflight capture for each placement. If one placement fails, adapt or deselect it deliberately rather than approving the campaign from the best-looking preview only.
Test the customer path
Follow the preview or supported test path to the exact destination. Check mobile loading, redirect behavior, URL parameters, offer consistency, form fields, consent language, event firing, and post-submit handling. A perfect crop cannot repair a broken destination.
Use a test record that can be identified and removed or suppressed. Confirm the CTA wording describes what happens next and that the landing experience does not introduce a different promise.
Compare publication with approval
After the ad begins delivering, inspect available live-placement evidence, delivery breakdowns, comments, destination records, and creative-level results. If the live rendering differs materially, capture the placement and control settings before editing.
Deliverable: placement inventory, asset matrix, safe-zone files, preflight captures, CTA and destination test, enhancement record, live-placement evidence, issue log, corrective change, and a publish, adapt, deselect, repair, or pause decision.
THE TAKEAWAY
Design from placement requirements, inspect each preview, validate the destination and CTA, then check an actual delivery sample and document any corrective edit.OFFICIAL REFERENCES