Meta warns that an Apple service fee may apply when boosting through the Instagram iOS app in some circumstances. The practical response is not to guess at a universal price; it is to inspect the current checkout, compare supported workflows, and document the campaign and payment account before committing spend.
VISUAL LESSON
What you will learn
- 01Identify the amount and fee shown before payment.
- 02Compare boost and Ads Manager controls.
- 03Preserve a campaign and billing record.
ILLUSTRATIVE WORKED EXAMPLE
Compare the decision dimensions before publishing
PRACTICAL INTERFACE MAP
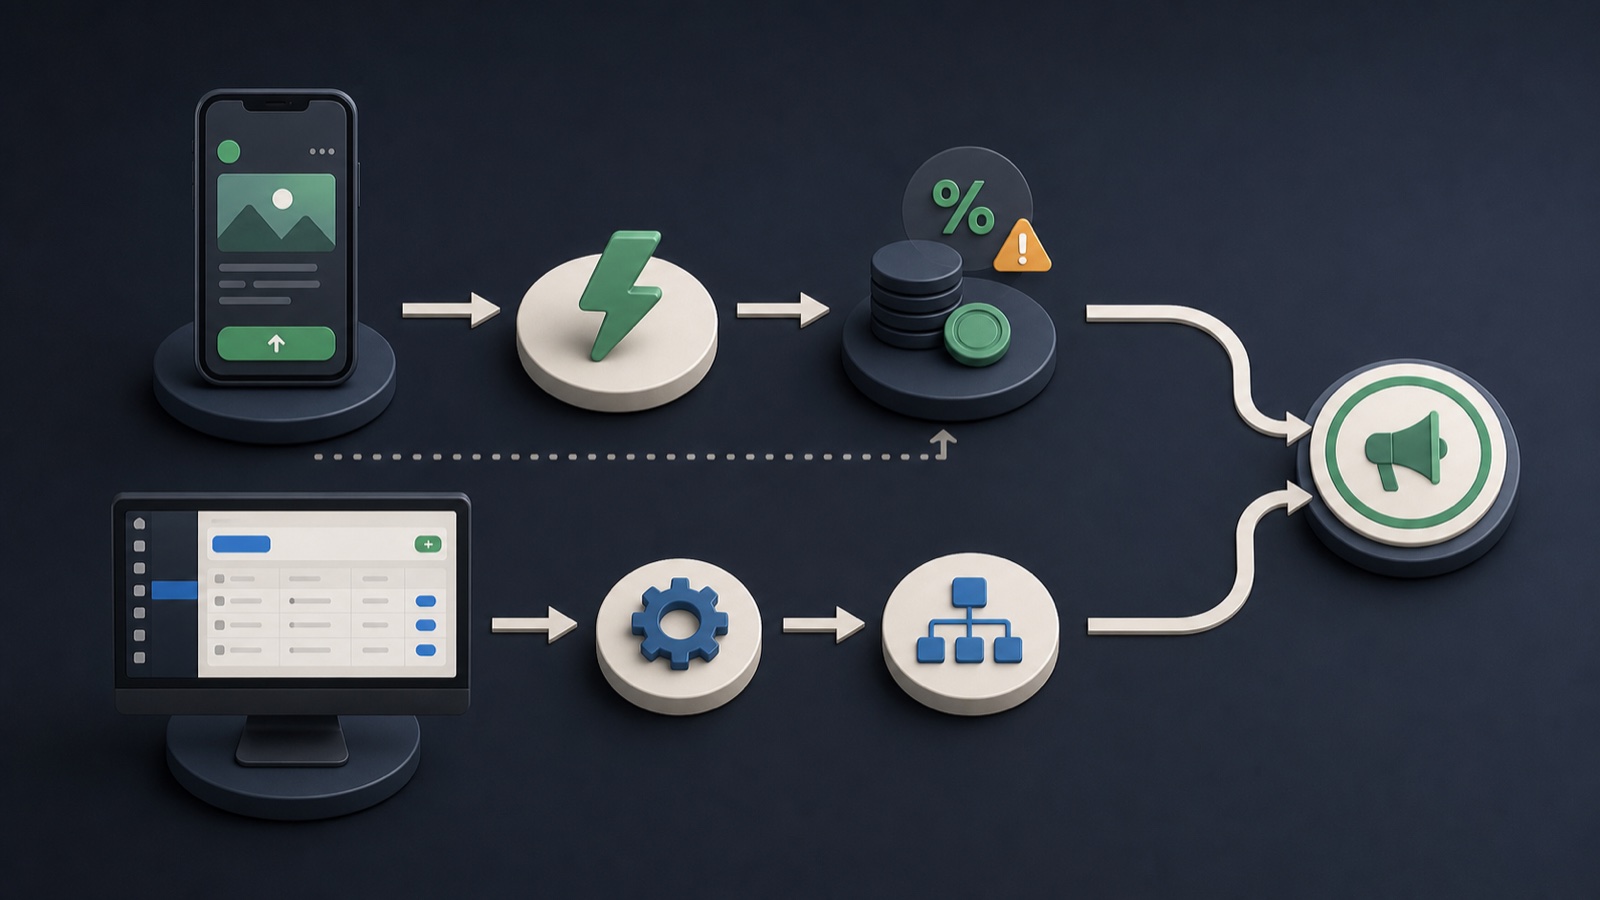
Compare both routes using one brief
Write objective, audience, dates, budget, destination, identity, measurement, and approval owner before opening either workflow.
Record the total, any service-fee disclosure, payment path, targeting options, and reporting available in each supported route.
Use the authorized path that fits the campaign, save the confirmation, and verify the live promotion and spend cap.
STEP-BY-STEP LESSON
One brief → two publishing paths → verified total
THE LEAD ATLAS METHOD
Lead Atlas Data offers a complementary way to obtain business contacts chosen for the campaign's location, category, and market when targeted outreach is also planned.See how custom list research works ↗Create one comparison brief
Define the exact post or creative, business objective, audience, geography, schedule, media budget, destination, tracking, Instagram identity, and approver. This keeps the comparison about workflow rather than different campaign plans.
State whether you need a simple post promotion or fuller campaign, placement, creative, and measurement control. Convenience has value, but only after the required controls are clear.
Inspect the iOS checkout
Follow the current Instagram iOS boost flow up to—but not through—final purchase. Record the media budget, taxes or fees shown, total charge, currency, payment route, campaign dates, and cancellation or editing information.
Do not assume the disclosure is identical across regions, dates, or account types. The number that matters for this decision is the current amount presented to the authorized buyer before confirmation.
Inspect the supported alternative
Build the same plan in the current supported Meta advertising workflow, such as Ads Manager where appropriate, without publishing. Compare objective, audience, placements, identity, creative options, schedule, budget, measurement, billing account, and approvals.
Make sure both routes point to the same destination and use the same base media budget. A different objective or broader placement plan is not a clean fee comparison.
Choose for total campaign fit
Select the route that provides acceptable cost visibility, controls, ownership, and reporting. If several people manage advertising, prefer a path that preserves shared access and a clear audit trail.
Never create a duplicate ad account solely to avoid understanding the charge. If a fee or payment line is unclear, stop before purchase and consult the current help or support information.
Verify after publishing
Save the confirmation, campaign ID, selected account, schedule, spend limit, destination, and total shown. Check the live promotion and reporting view to confirm the correct identity and campaign settings.
Deliverable: fixed comparison brief, screenshots of both pre-publish paths, current checkout record, control comparison, approval decision, campaign ID, live-ad check, and spend-monitoring owner.
THE TAKEAWAY
Choose the publishing path after comparing the current fee disclosure, campaign controls, ownership, and total amount charged—not from habit.OFFICIAL REFERENCES